Then on Christmas morning I began opening them and watched all the colorful surprises come forth.
I can't wait to share them with you all.

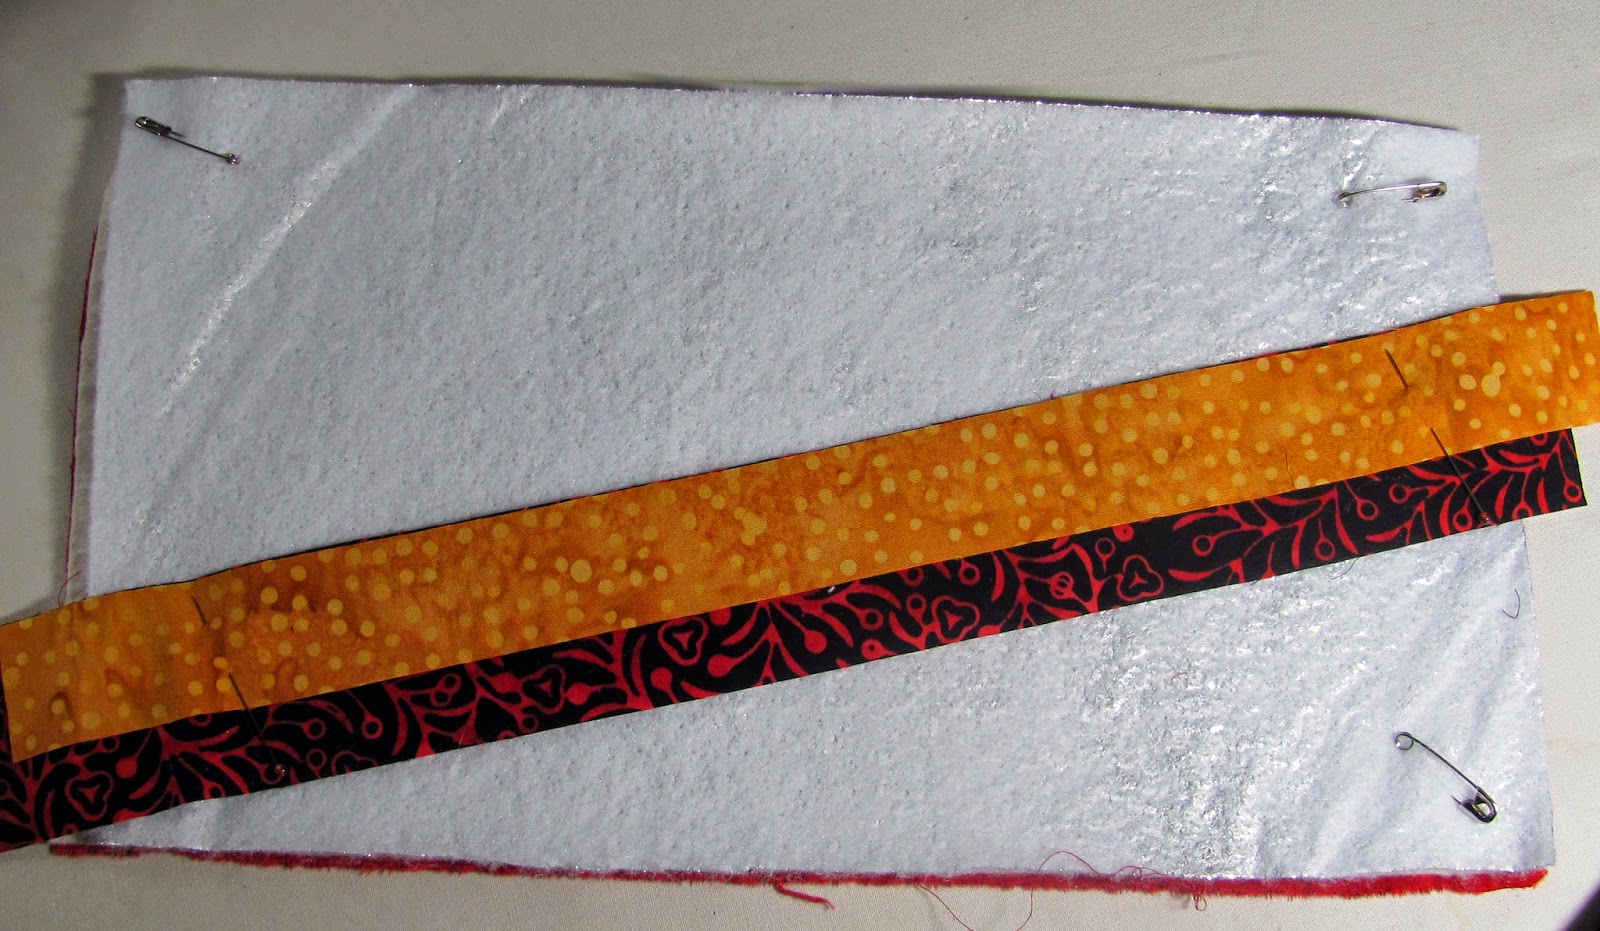
First let's start with the Christmas wallhanging/tablerunner. Isn't it stunning? Look at all beautiful fabrics she used along with the great quilting.

Second comes the fabulous Halloween table runner. This picture does not do it justice. It is a great combination of fabrics that I have never seen before. I will look forward to displaying this every Halloween. As many of you already know Halloween is my favorite Holiday.

Being a lover of all things froggy Dee made sure that I received froggy things. Like this adorable mini quilt. It is sooooooo cute!!! I just love it and am looking for the right place to display it.

Speaking of frogs, get a gander at this one. Bet you can't guess what it is besides a frog. Nope it's not the pin catcher the honeycomb is. Plus the honeycomb attaches by magnets to your person. I'm always leaving pins and needles in my clothes from using them as pincushions. What a great way to take care of your pins and needles. Ok do you give up? The frog is a tape measure. See his eye that has a shadow. You just pull that a measure anything. Too cute!!! Plus look at the great pair of scissors with the scissor keeper Dee made. Not in this picture is a great seam ripper. I am a very happy swapper. Thank you, Dee. I love everything, you are a great partner!!!!
Here is an overall picture of everything I received:

Keep on Quilting,


.jpg)